Motor Editor
Motor Editor is the editor for defining the machine's motor axes and managing them as a list. You add and delete axes, assign names and board mappings, and edit axis parameters such as encoder, orientation, and pulse output on a per-row basis. The entry path is Project → Motor Editor (Ctrl+Shift+3).
The top of the screen has an axis list DataGrid with a MOTOR LIST label, and the bottom has save buttons.
Each row in the grid is a single axis, and the axes defined here are referenced by name from scripts and
test screens.
This chapter covers the perspective of "defining axes and managing the list." Motor Param, which shares the same grid surface, describes the perspective of "tuning the parameters of already-defined axes" from the System menu, so refer to it as well for adjusting detailed parameter values.
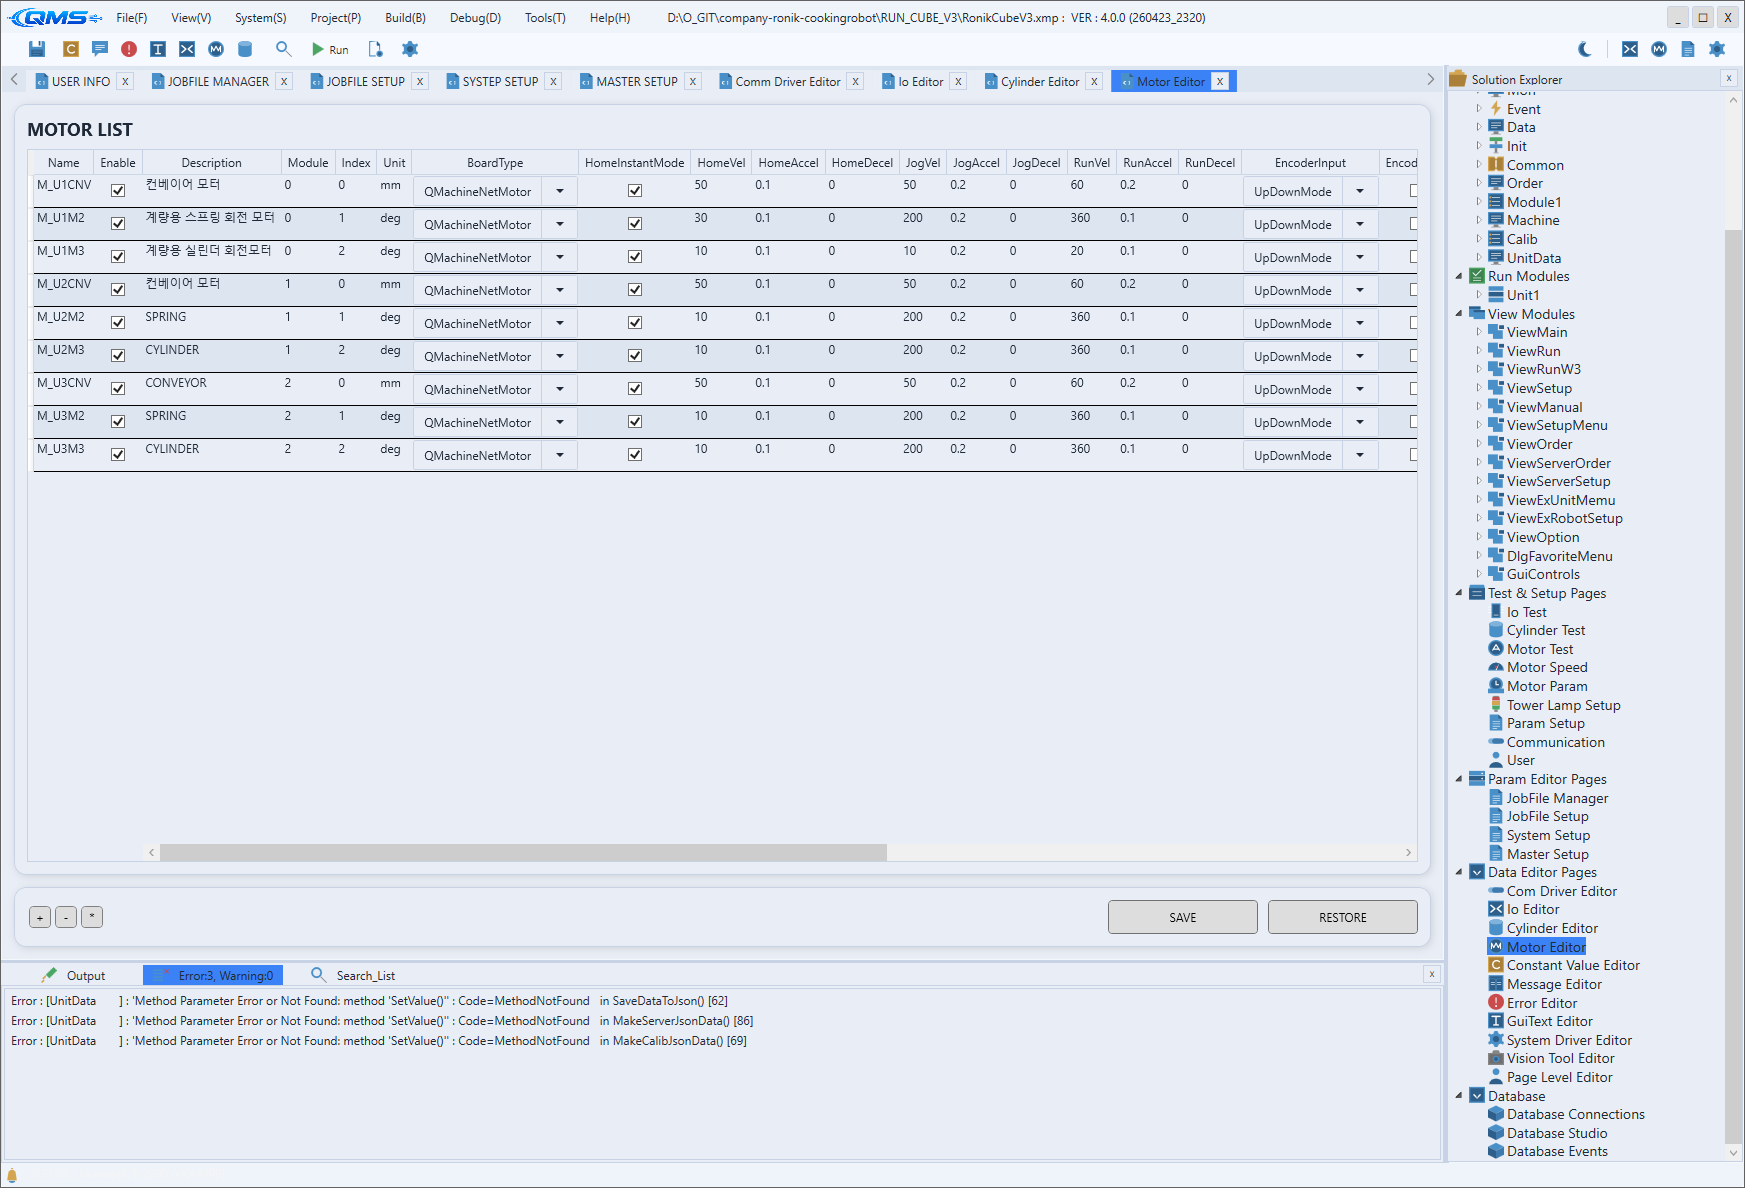
Basic identification columns
Each row is a single motor axis. The basic columns that identify an axis and connect it to a board are as follows.
| Column | Description |
|---|---|
Name | The axis name. Referenced from scripts as MOTOR["name"]. |
Enable | A checkbox specifying whether the axis is in use. |
Description | A description of the axis's purpose. |
BoardType | A column for selecting the type of board the axis is connected to. |
Module | The module the axis belongs to. |
Index | The axis number within the module. |
Unit | The unit used for position and speed notation. |
SubModel | The sub-model identifier used when branching by model. |
Main Enum columns
These enumeration (Enum) columns set the axis's signal method and output form. Since the basic motor-control behavior changes according to the value defined, select them to match the board and driver specifications.
| Column | Enum | Description |
|---|---|---|
EncoderInput | EncoderInput | Selects the encoder input method. |
Orientation | MotorOrientation | Specifies the axis orientation (rotation/movement reference). |
PulseOut | PulseOut | Selects the pulse output method. |
In addition, option checkboxes such as EncoderUse, EncoderInverse, and HomeInstantMode are provided
along with speed/acceleration columns such as HomeVel, JogVel, and RunVel. Settings from the
speed-set perspective are covered separately in Motor Speed.
Row editing
Right-clicking in the grid opens a context menu for managing the axis list. You can add, duplicate, move, and delete axes, and apply a value across a column.
| Menu item | Action |
|---|---|
Add Row | Adds a new motor axis row. |
Duplicate Row | Duplicates the selected row. |
Move Up · Move Down | Moves the selected row up or down. |
Set All This Column | Applies the selected column's value to all rows at once. |
Delete Row | Deletes the selected row. |
Save edits with SAVE at the bottom, and revert to the last saved values with RESTORE. The +, -, and
* buttons at the bottom left of the grid adjust the display scale.
Workflow
- Open the editor via Project → Motor Editor (Ctrl+Shift+3).
- Add an axis row with
Add Rowfrom the context menu and enterNameandDescription. - Map the axis to the actual board with
BoardType,Module, andIndex. - Select the Enum columns such as
EncoderInput,Orientation, andPulseOutto match the board specifications. - Save with
SAVEat the bottom. Continue detailed parameter tuning in Motor Param. - Verify the defined axis's behavior in Motor Test, and configure speed sets in Motor Speed.