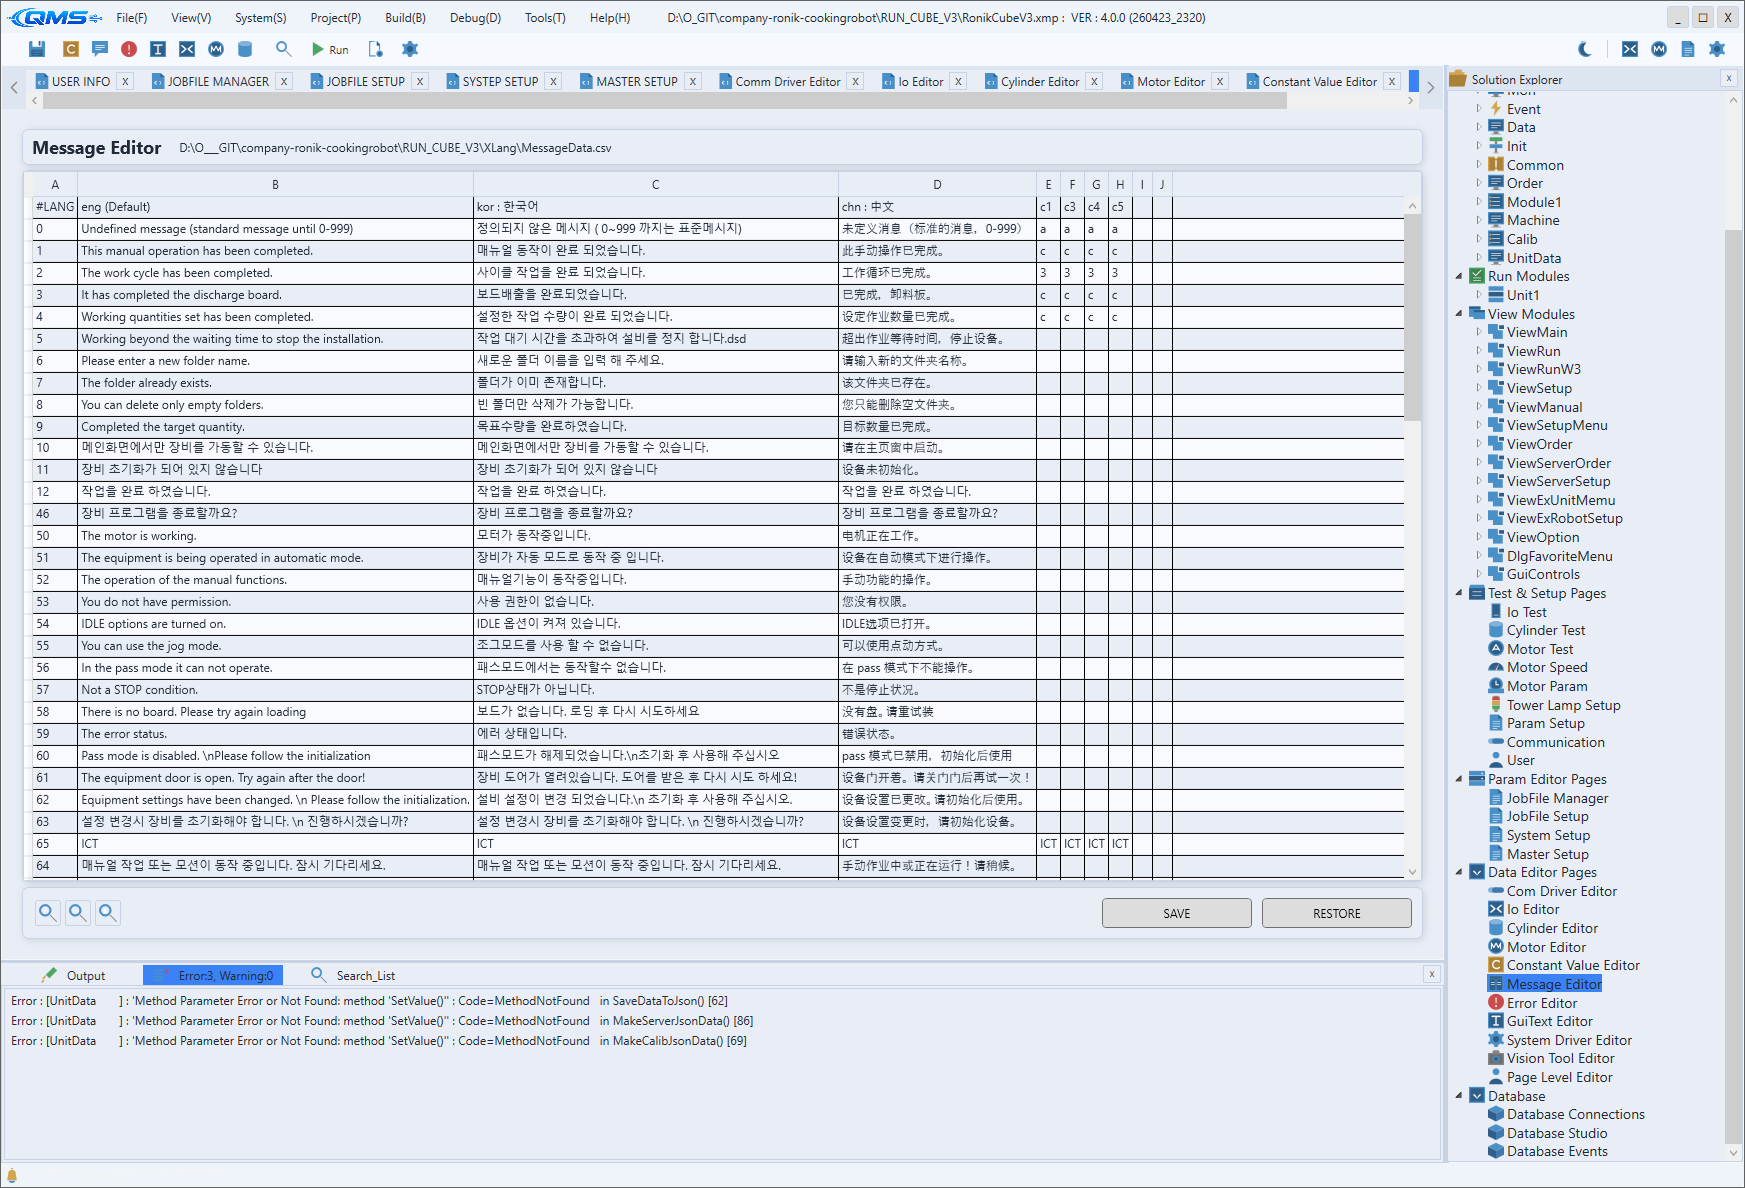
Message Editor
Message Editor is a multilingual message catalog editor that collects and edits the messages shown on screen and in logs while equipment is running. Open it from Project → Message Editor or with the Message Editor toolbar button.
Messages are organized by catalog (Source), and each item carries a code, priority, and flags together with per-language text. The screen uses a 3-pane layout: categories on the left, the item grid in the middle, and detail and per-language editing on the right. You work by picking a category, selecting an item in the grid, and then refining its content on the right.
Selecting a catalog (Source)
Choose the catalog to edit from the Source combo in the top toolbar. Three catalogs are available, and the choice changes the middle grid and the right-hand fields accordingly.
| Source item | Target |
|---|---|
BuiltIn Messages | Common messages built into the engine. Each item has a Key used for code references. |
Project Messages | General notice and status messages defined by the current project. |
Project Errors | Equipment error messages for the current project. Shares the same data scope as the Error Editor. |
The Lang combo to the right of Source decides which language the grid's Message column previews. The default is the project language, and you can switch the display language at any time while editing.
Left — CATEGORIES
The left CATEGORIES panel lists the categories of the selected catalog. Selecting a category makes the middle grid show only the items in that category.
Categories group messages by function or device so that, in projects with many items, you can quickly narrow the view to the group you need.
Middle — ITEMS
The middle ITEMS grid lists the message items of the selected category, one per row. The Add and Remove buttons on the right of the header add or delete items, and the item count in the header shows how many items the current category holds.
| Column | Content |
|---|---|
Code | Code number identifying the message. |
Key | Message key. Used for code references in BuiltIn Messages. |
Level | Priority (0–3). The higher the number, the more important the message. |
Flags | Summary of the attribute flags assigned to the message. |
Message | Body preview in the language chosen in the Lang combo. |
Typing a keyword in the Search box on the toolbar filters the items to those matching in Code, Key, or the message body. Selecting an item fills the right-hand detail panel with its content.
Right — PROPERTIES
The right PROPERTIES panel edits the selected item's attributes and per-language text. It is disabled until an item is selected and becomes editable as soon as one is.
| Field | Content |
|---|---|
Code | Item code. |
Key | Message key (used in the BuiltIn catalog). |
Level | Priority selection. 0 - P4 Low, 1 - P3 Medium, 2 - P2 High, 3 - P1 Critical. |
Flags | Turn attributes on with the ack, reset, safety, dongle, info, and timer checkboxes. |
Comment | Memo describing the item. |
At the bottom of the panel are three grids for entering per-language text. Each grid has two columns, Lang and Text, and you type the body directly on each language row.
- MESSAGES — the message body shown on screen and in logs.
- CAUSE — an optional explanation of the error's cause.
- TODO — an optional recommended action.
Action buttons
The toolbar buttons perform operations on the whole catalog. Export and Import are available only for Project Messages and Project Errors.
| Button | Action |
|---|---|
Reload | Reloads the catalog from disk. Unsaved changes are discarded. |
Validate | Checks catalog integrity, such as duplicate codes, missing keys, and placeholder mismatches. |
Add | Adds a new item to the current category. |
Remove | Deletes the selected item. |
Export | Exports to an Excel file for translation work. |
Import | Re-imports the translated Excel file. |
Save | Saves the current catalog to disk (with automatic backup). |
Migrate appears as a banner at the top only when a legacy CSV-format catalog is in use; clicking it converts the catalog to JSON.
Workflow
- Choose the catalog to edit in the toolbar
Source. - Select a category in CATEGORIES on the left and, if needed, narrow items with
Search. - Select an item in ITEMS in the middle, or create one with
Add. - In PROPERTIES on the right, enter
Code,Level,Flags, and the per-language MESSAGES text. - Check integrity with
Validate, then save withSave. - For translation, export with
Export, do the work, and reflect it back withImport.